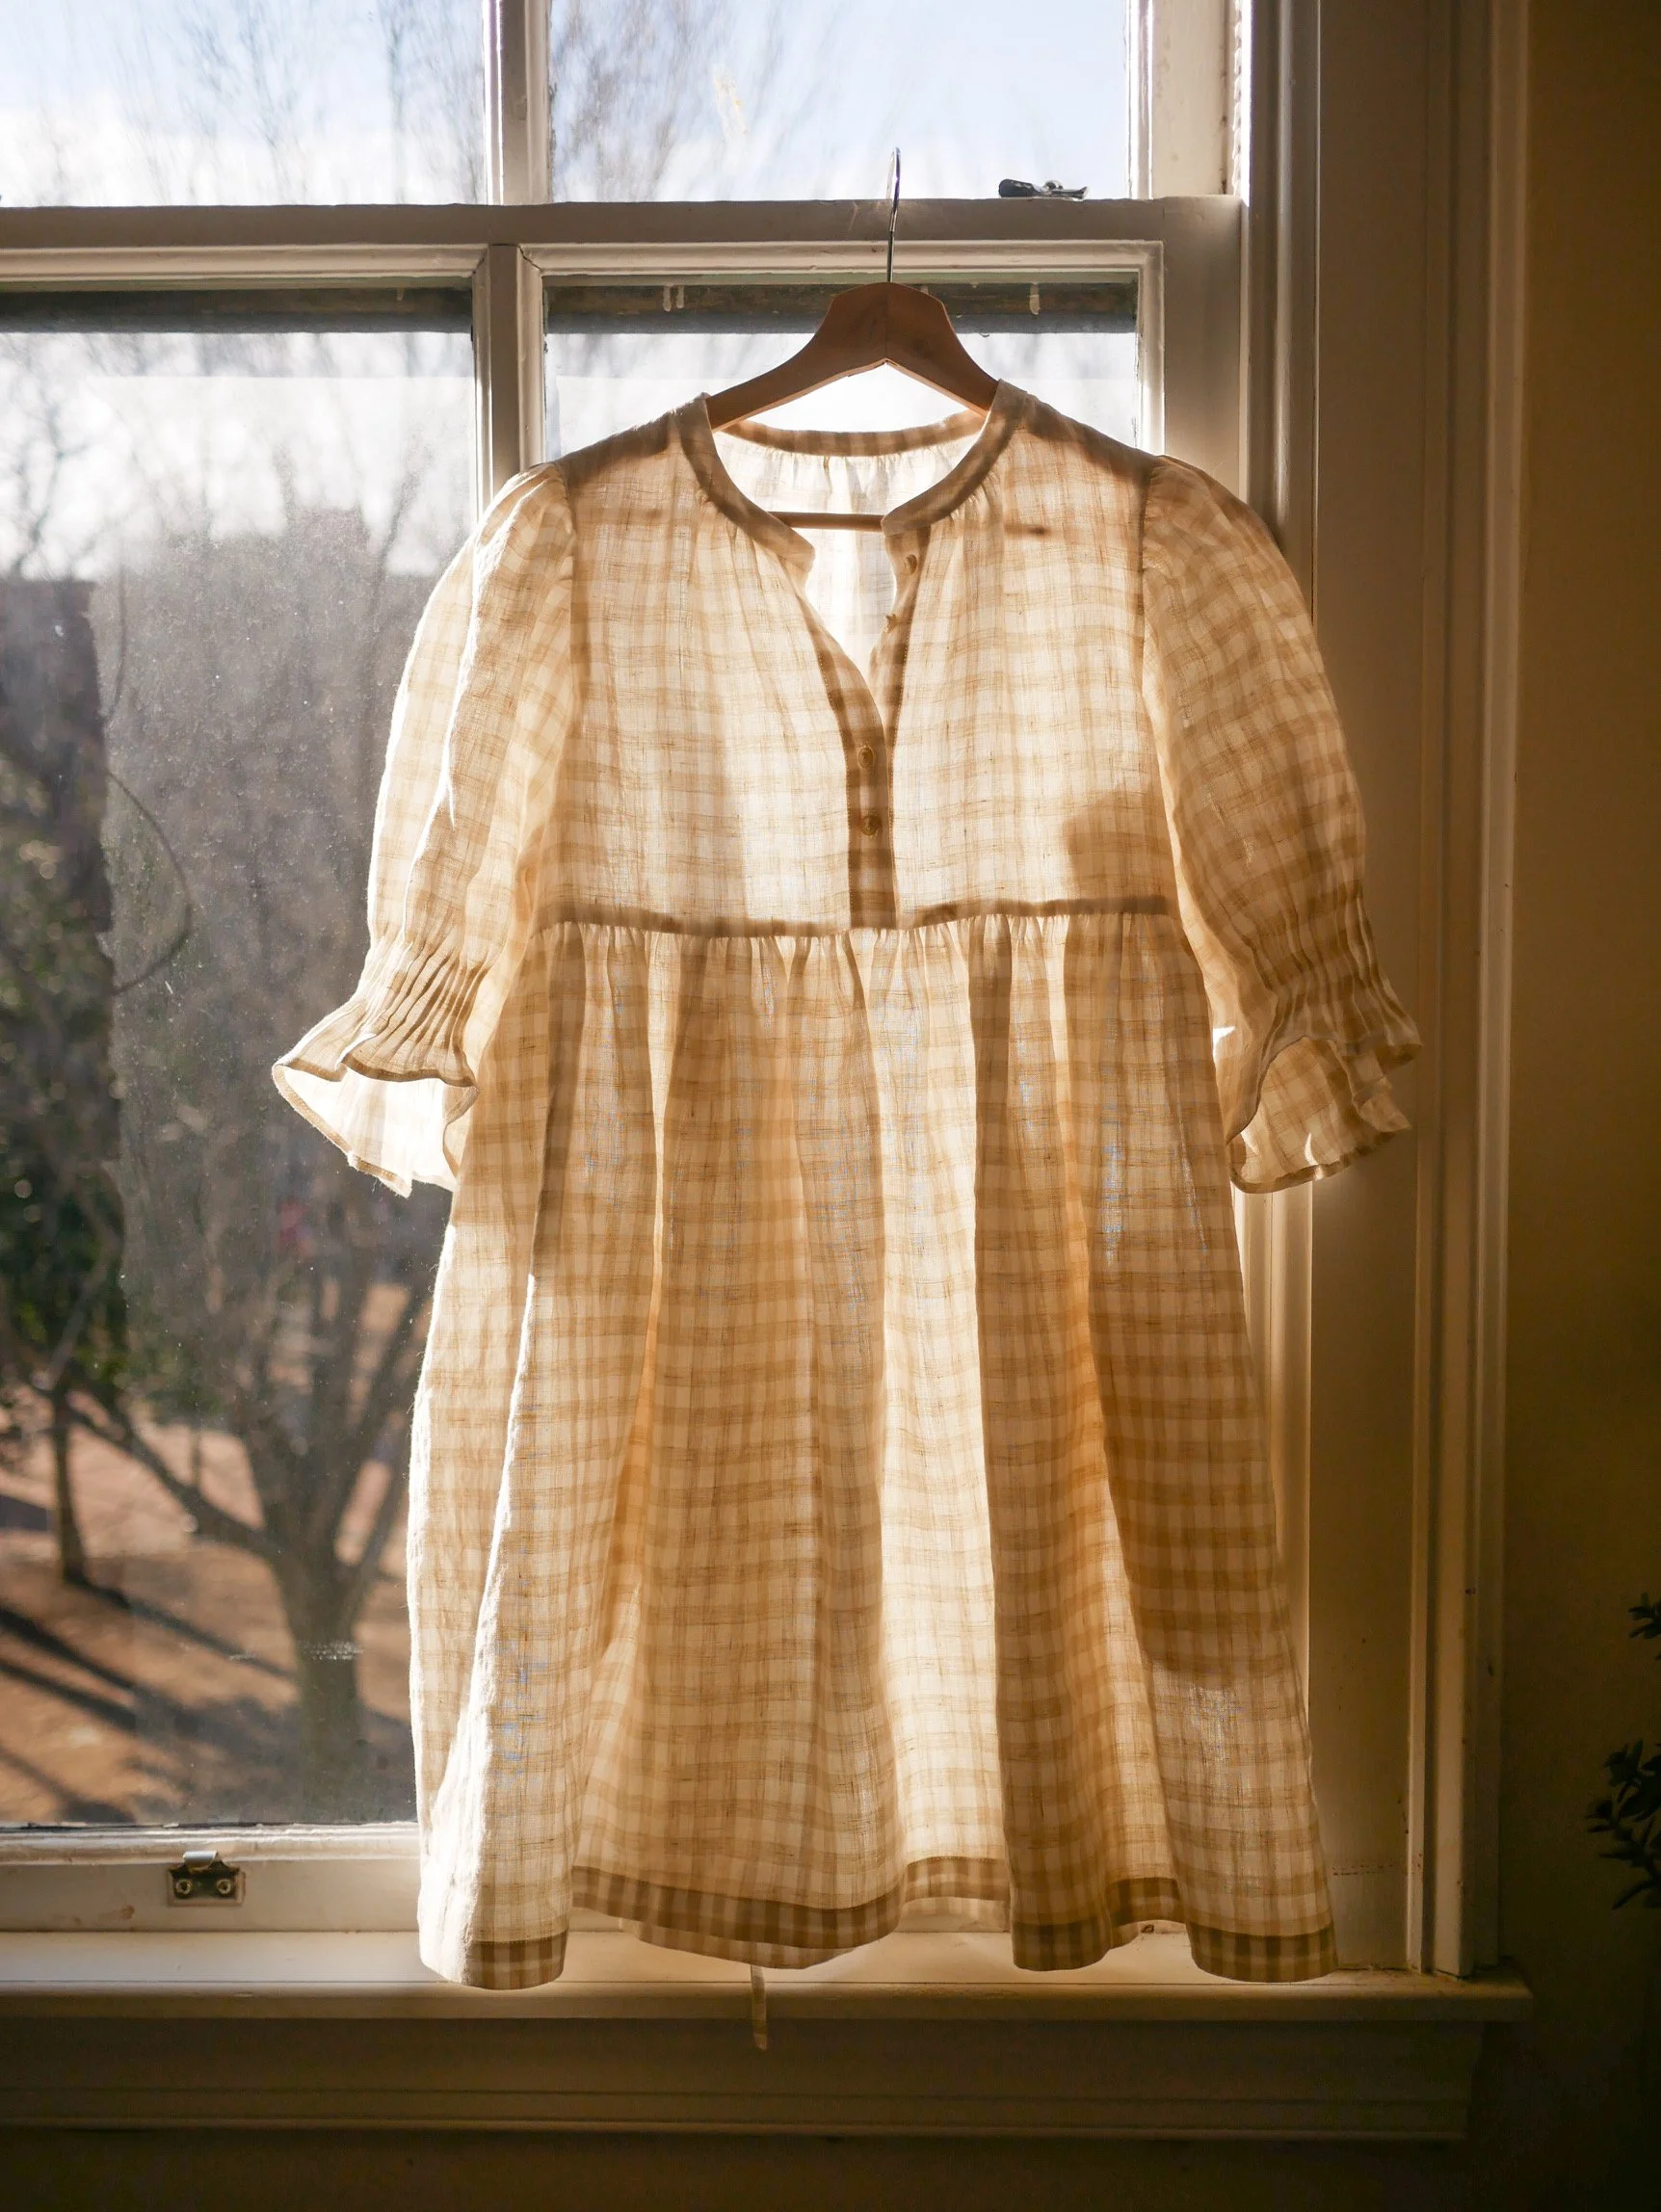
ORCHARDS DRESS SLEEVE EXPANSION
ADJUSTMENT GUIDE:
HOW TO GRADE BETWEEN SIZES FROM SHOULDERS TO BUST
If you prefer a smaller bodice but want to keep your size in the sleeves and neck collar, you can grade between sizes between the shoulders and lower bodice.
There are two methods to do so. Each method shows a way to reduce the amount of ease, but at different locations. The method you choose will depend on where you feel there is excess ease. Method 1 reduces at the center front/back. Method 2 reduces at the side seams. You can also do a combination of each method for a more balanced approach to narrowing the bodice.
METHOD 1
This method is the simpler of the two methods. It is recommended if you feel the sleeve fit is right but you feel there is excess fabric at the center front and center back.
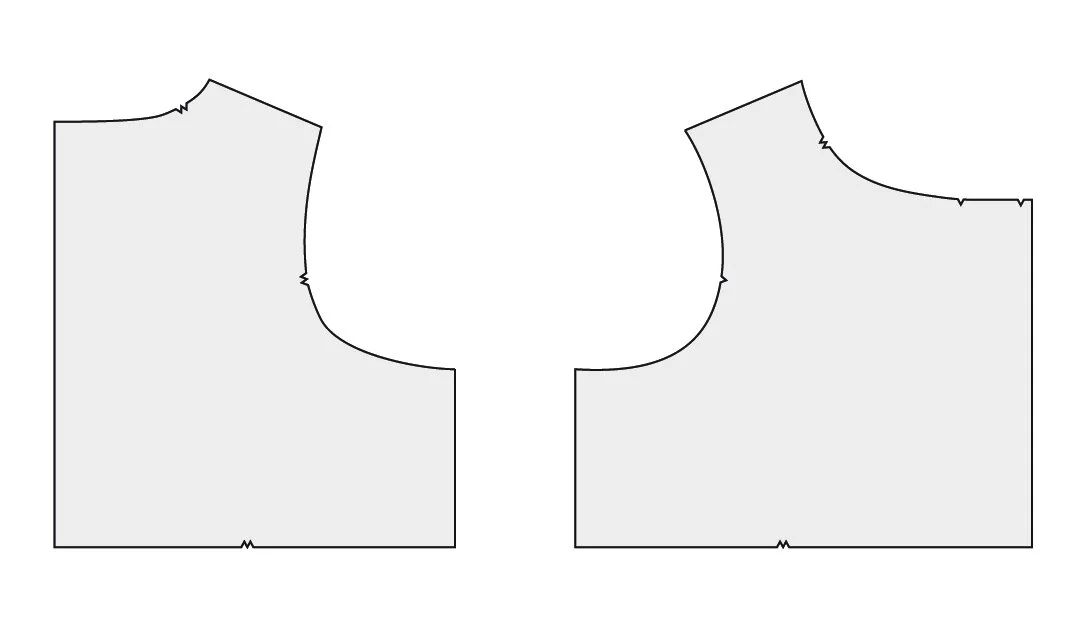
1. Gather your pattern pieces.
Begin with your base size front and back bodice paper pattern pieces.
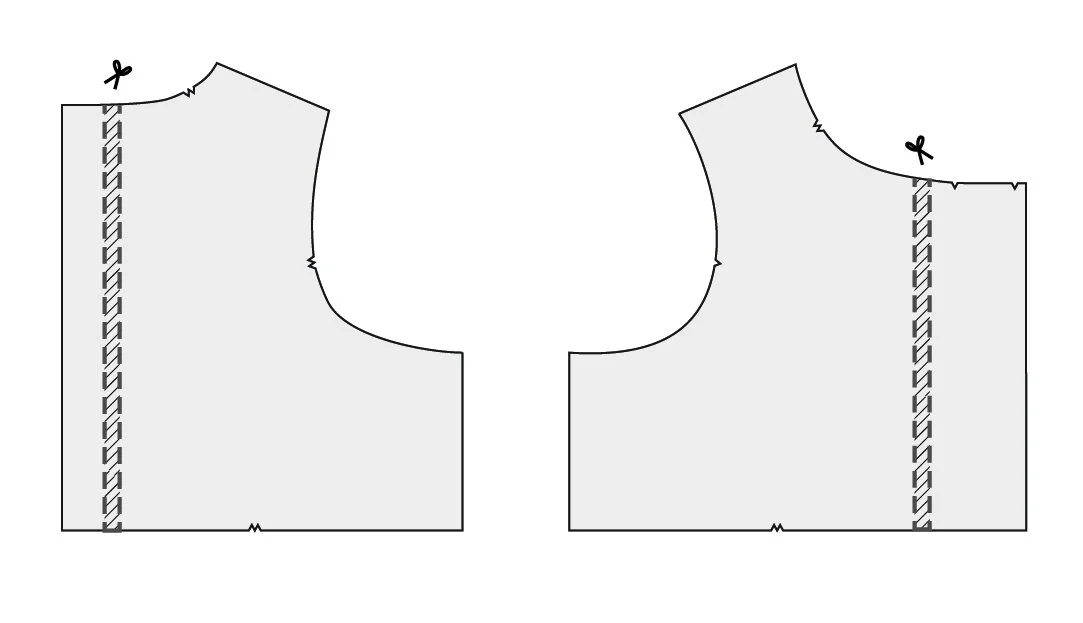
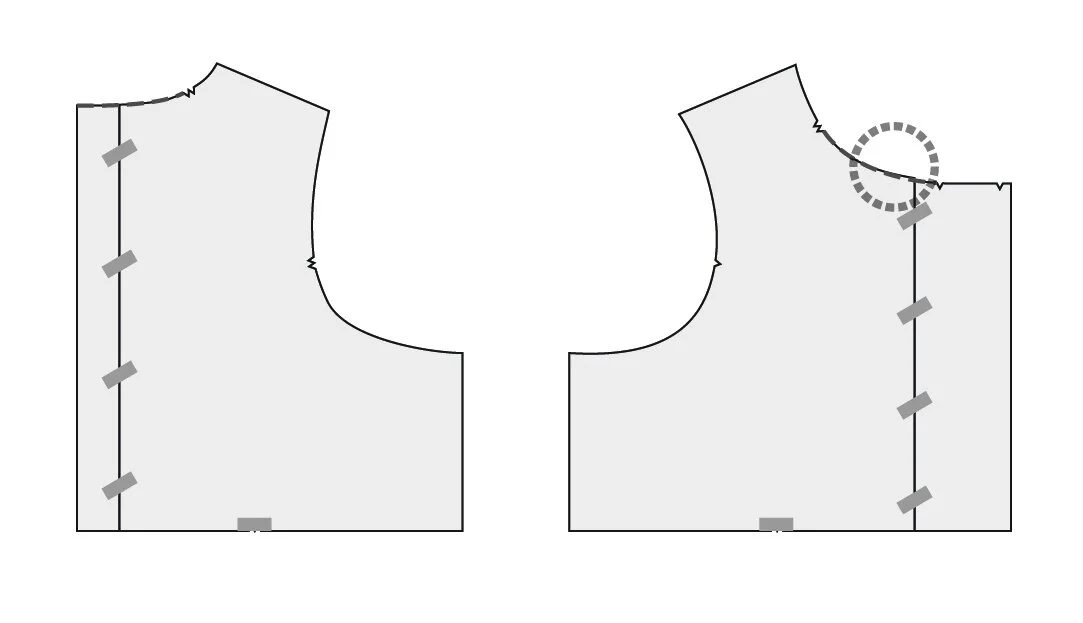
2. Prepare your guide lines and cutting lines.
Draw one vertical line about 1” (2.5cm) from the inner notch near the center front.
Draw a second vertical line offset from the first line. The distance between the two will be the amount of width you want to remove from the bodice. Keep in mind this bodice paper pattern piece represents 1/4 of the total circumference of the bodice. If you want to remove 2” from the total circumference, your second vertical line will be 1/2” from the first line.
Repeat at the back bodice. Locate your lines near the center back, where the neck line is relatively flat.
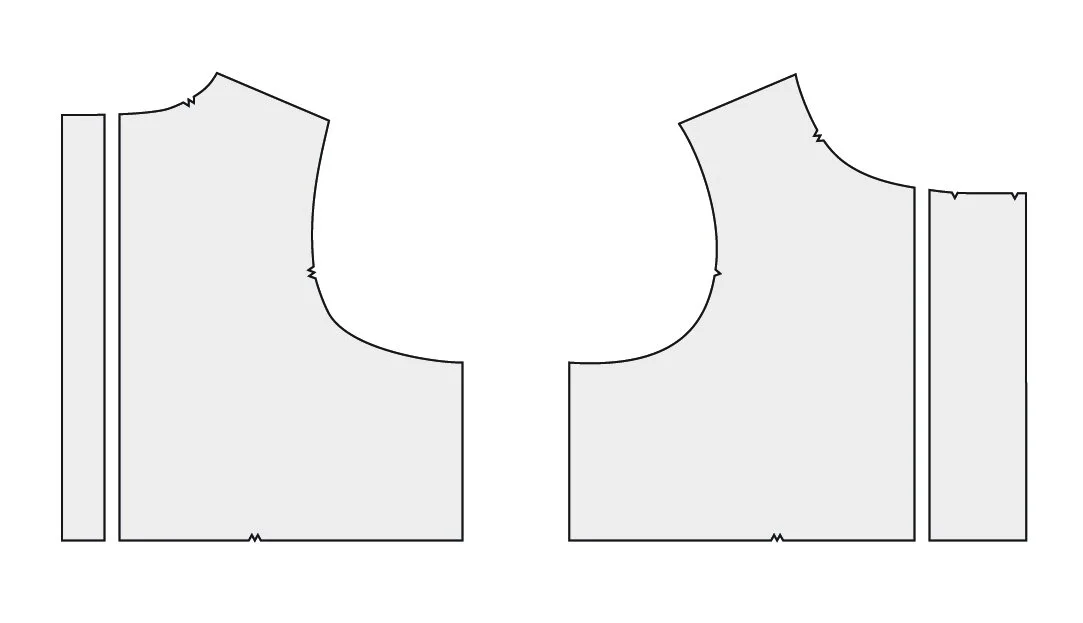
3. Cut your pattern pieces along the vertical lines. This will remove an entire vertical section from the pattern piece.
4. Join the pieces and tape them back together. Tape over the double notches at the waist line.
Where the neckline curves are jagged at the connection, smooth out the curve and trim the excess off.

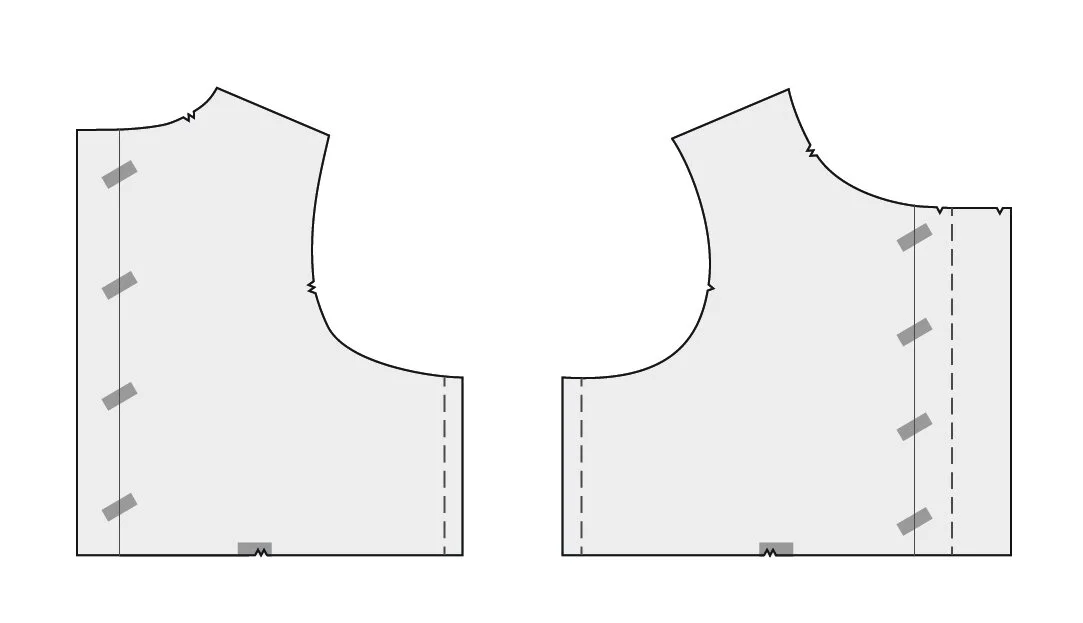
5. Your final pieces are complete.
The last detail to add is the double notch at the waist line. This notch is the midpoint between the side seam (which is 1/2” from the pattern piece outer edge) and the center front/center back. The center front line is at the center of the button placket (which is 1-7/8” (4.76cm) from the outside edge of the pattern piece).
Proceed with sewing the Orchards Dress per the instructions booklet.
METHOD 2
This method is recommended if you enjoy the ease at the center front and center back, but feel the armscye could be deeper.
This method is a little more complex but offers the benefit of a deeper armscye if so desired.

1. Gather your pattern pieces.
Begin with your base size front and back bodice paper pattern pieces.
2. Prepare your guide lines and cutting lines.
Draw the stitch lines at the shoulders, armscye, and side seam. The seam allowance is 1/2” at all of these seams.
Lay a piece of paper beneath your pattern pieces. Draw a vertical line parallel to the side seam, offset by the amount you want to reduce the bodice width to. This is your target line.
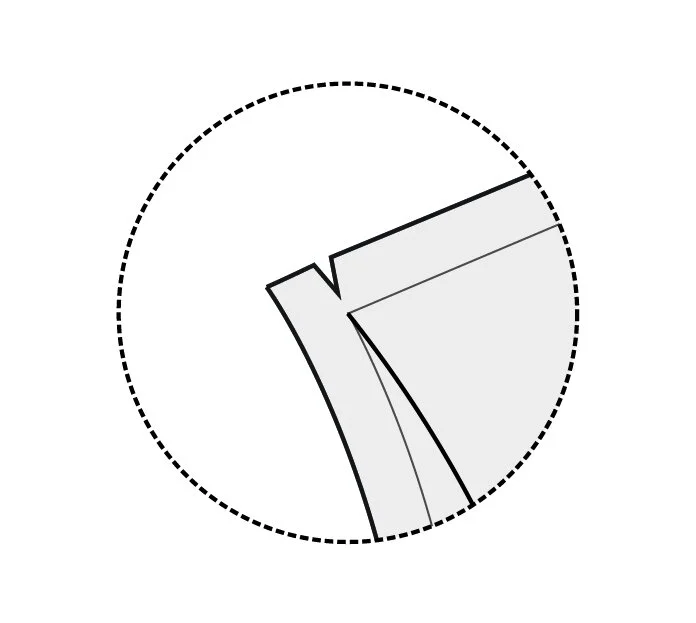
Draw a curved line from the outer shoulder corner at the stitch lines intersection down to the waist line. I drew mine to the notches but it doesn’t really matter where you end up since you will remark this notch anyway. Cut your paper pieces along this curved line. Do not cut through the shoulder corner stitch line. This will be your hinge point.
Cut a notch into the seam allowance to but not through the shoulder corner.

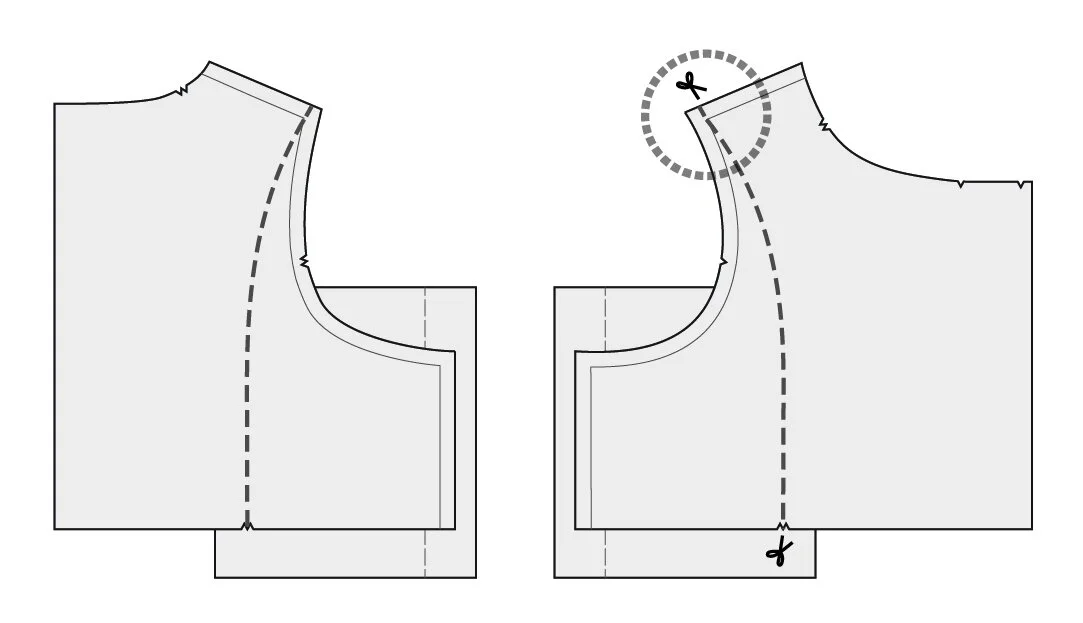
3. Pivot your pattern pieces.
Using the outer shoulder corner as your hinge point, pivot the bodice side until the armpit seam point intersects with the target line.
The thin dashed lines in the diagram represent the original pattern piece shape.
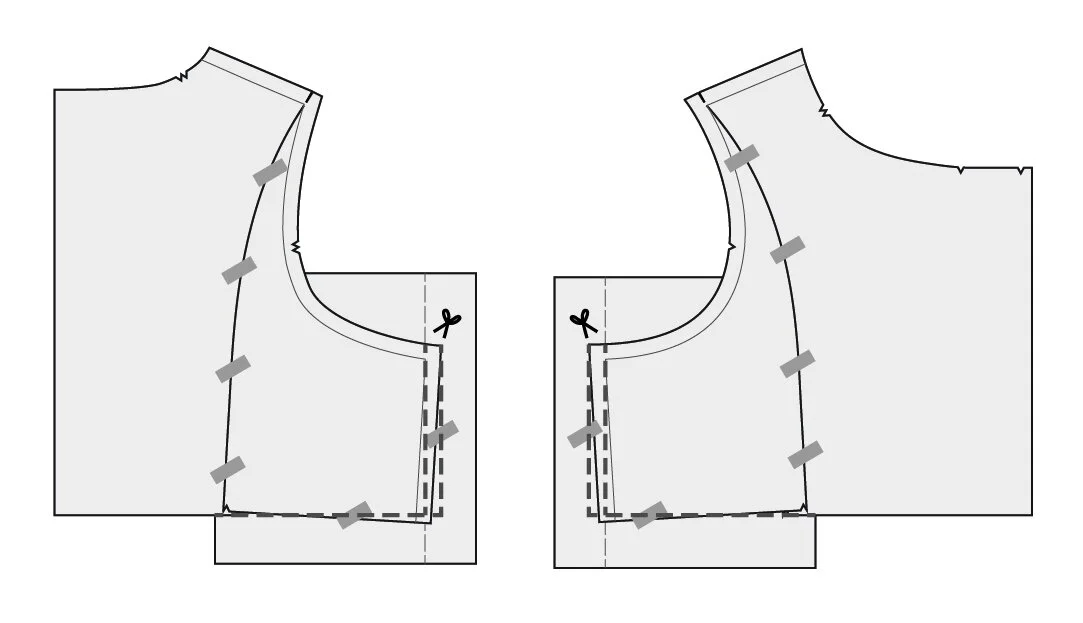
4. Tape your pattern pieces to secure them in place.
True the side and waist seams.
Draw a new side seam line starting from the armpit vertically down towards the waistline. Extend the horizontal waistline from the center front and center back towards the side seams. Cut the new shape along the new side and waist lines.
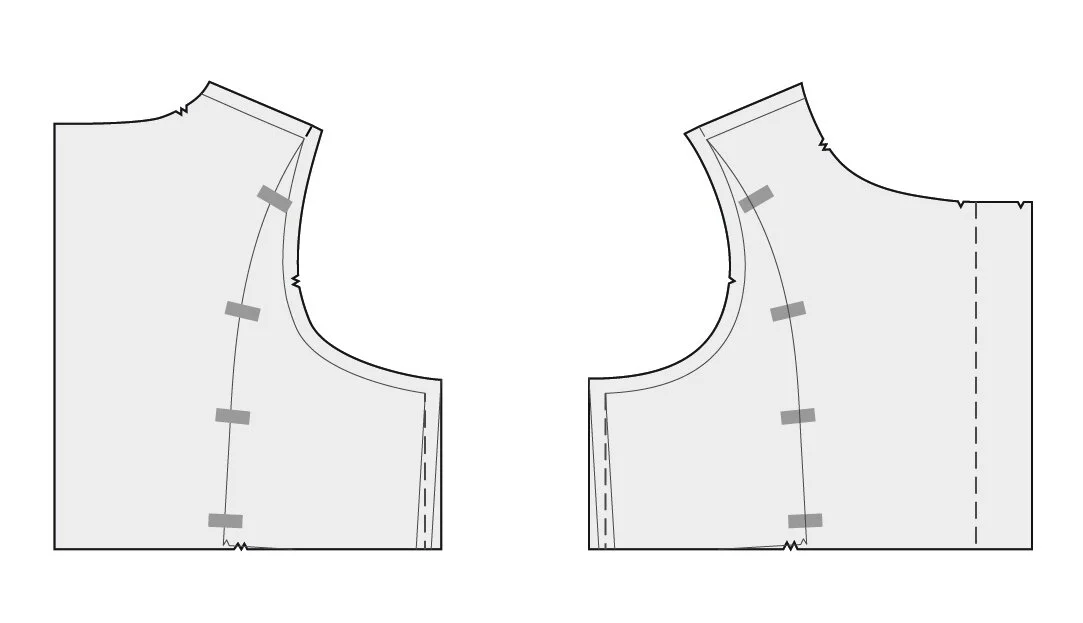
5. Your final piece is complete.
The last detail to add is the double notch at the waist line. This notch is the midpoint between the side seam (which is 1/2” from the pattern piece outer edge) and the center front/center back. The center front line is at the center of the button placket (which is 1-7/8” (4.76cm) from the outside edge of the pattern piece).
Proceed with sewing the Orchards Dress per the instructions booklet.