ORCHARDS DRESS SLEEVE EXPANSION
ADJUSTMENT GUIDE:
HOW TO DO A FULL BICEP ADJUSTMENT
How do you know if you need to do a full bicep adjustment?
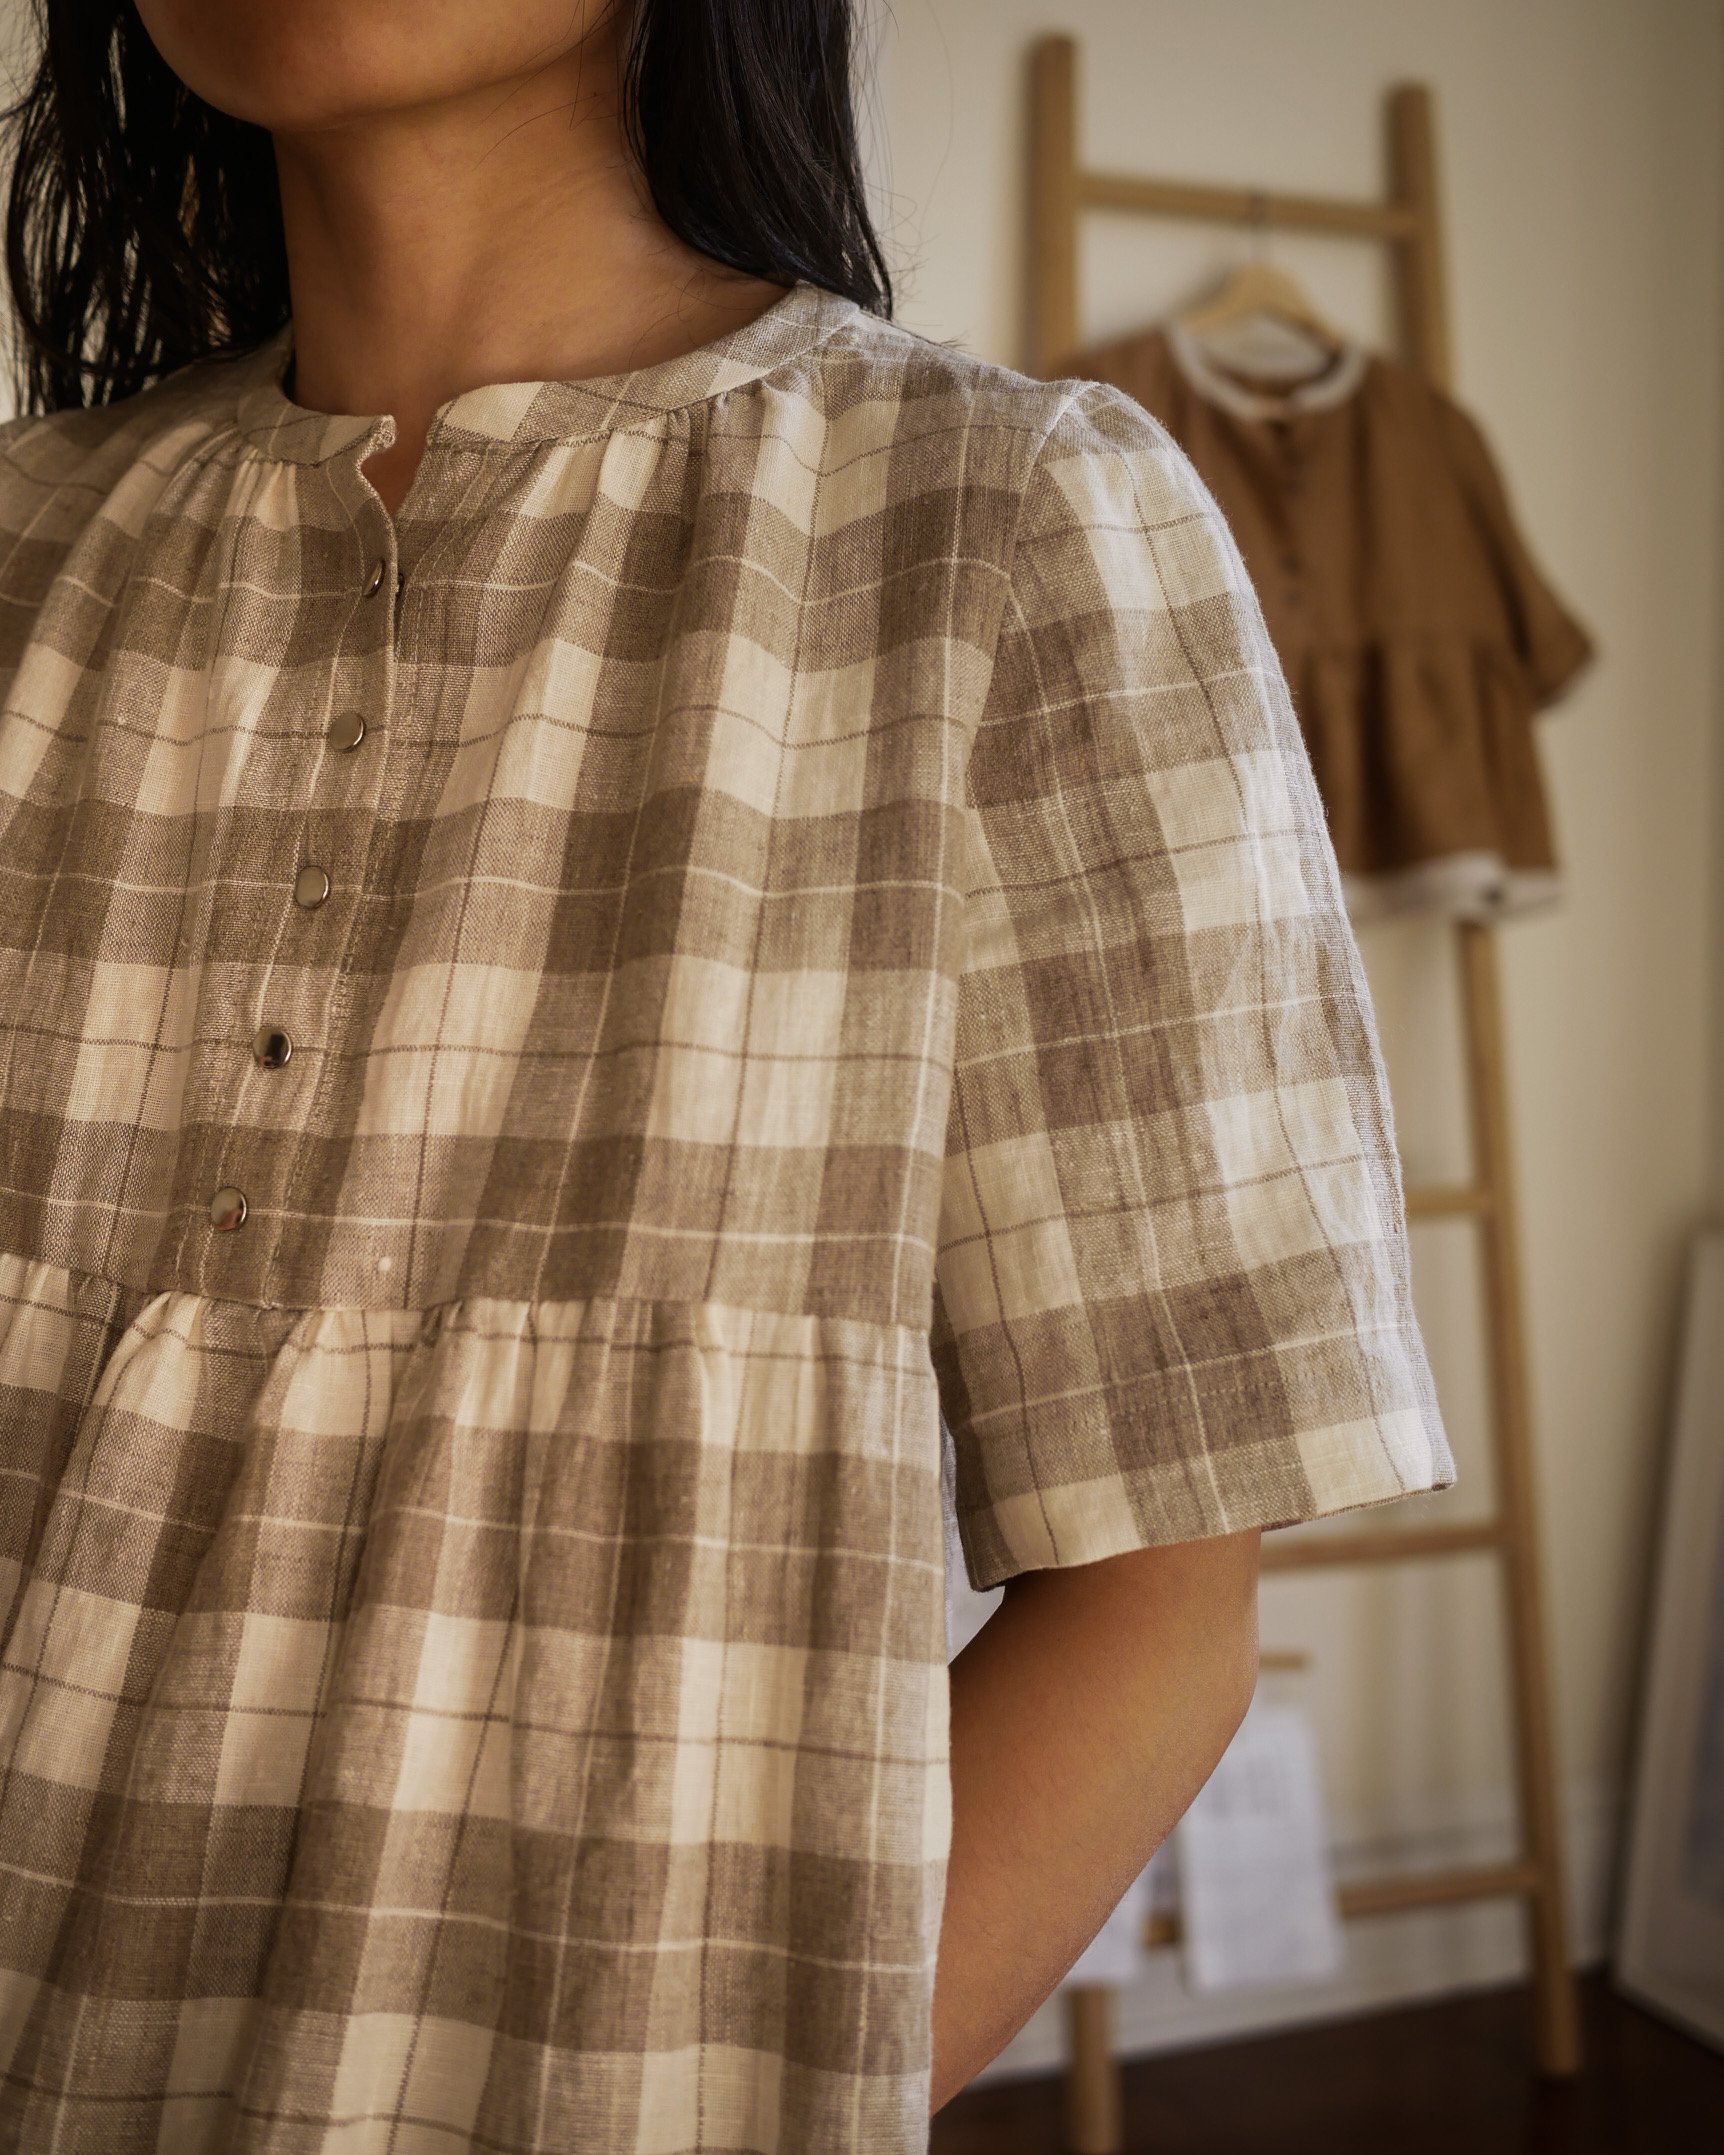
The Orchards Dress Sleeve A is a set-in sleeve, which means that the sleeve cap is fitted to the shoulder. This sleeve is designed with sleeve cap ease, but for some people this may still not be enough to feel full mobility. This may feel like tightness at the shoulder cap. It can also feel like tightness across the upper chest or back. This is because the sleeve width is too narrow and that lack of adequate ease may actually manifest itself not just at the bicep, but also across the bodice.
Not all set-in sleeves are designed the same way. Some are designed to be right at the shoulder peak. Some are designed to be in or outboard of it. Some are designed with extra cap ease and some are designed with less. These factors will play into how the pattern fits your body. The Orchards Dress Sleeve A is designed to sit a bit inboard from the shoulder peak, with 1” to 1.25” of sleeve cap ease.
Before sewing a muslin you can check the garment measurements chart to preemptively check if you might need a full bicep adjustment. First compare your bicep body measurement with the garment bicep measurement. The Orchards Dress Sleeve A is designed to have a comfortable positive ease of about 3” to 4”. Wrap a measuring tape around the widest part of your upper arm. Compare this measurement to the garment measurement in the instructions. If the difference between the garment measurement and your body measurement is less than 2”, consider making a Full Bicep Adjustment to achieve the intended silhouette of the Orchards Dress.

Begin with your base size sleeve paper pattern piece.

2. Prepare your guide lines and cutting lines.
Draw your stitch lines at the sleeve head and sides. The seam allowance is 1/2” (1.2cm) for both of these seams.
Draw a vertical line down from the center cap notch to the sleeve hem. Cut the paper pattern along this entire line.
Draw a horizontal line from armpit corner to armpit corner. Cut the paper pattern along this line but do not cut through the armpit stitch line corners. These will be hinge points. Cut a notch into the seam allowance to but not through the armpit corners.

3. Lay a piece of paper beneath your pattern pieces. Draw two vertical lines parallel to the center vertical cut line, offset on each side by the half of amount you want to add to the bicep width. These are your target lines.

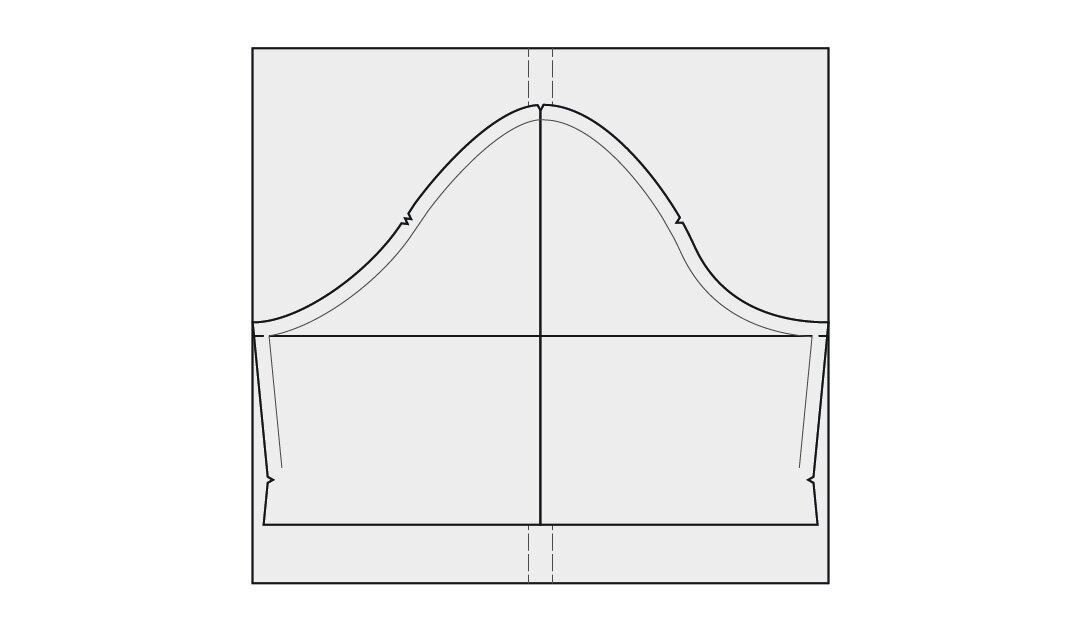
4. Now you will pivot your pattern pieces to add with to the bicep. Hold the center top and bottom of the sleeve pieces together, keeping them aligned to the center. Pivot the pieces out to create a gap in the center. Keep pivoting until that gap is the same width as the width between your target lines.
In this diagram, the dashed line shows the original pattern piece shape. You can see that the sleeve cap has been pushed down a bit and the hem pushed up a bit to make the pattern piece wider.

5. Tape your manipulated pattern pieces together to secure them in place.
Smooth out the curve at the sleeve cap by drawing a new curve. If you are adding more than 1” of bicep width, see below for further instructions at step 6B.
True the sleeve hem by drawing a horizontal line.


6A. Cut out your new pattern piece and proceed with the sewing the Orchards Dress per the instructions booklet.
ADDING MORE THAN 1” OF BICEP WIDTH
If you are adding more than 1” in the bicep width, the sleeve cap will become too distorted and a couple additional steps need to be done to fit it back into the armscye.

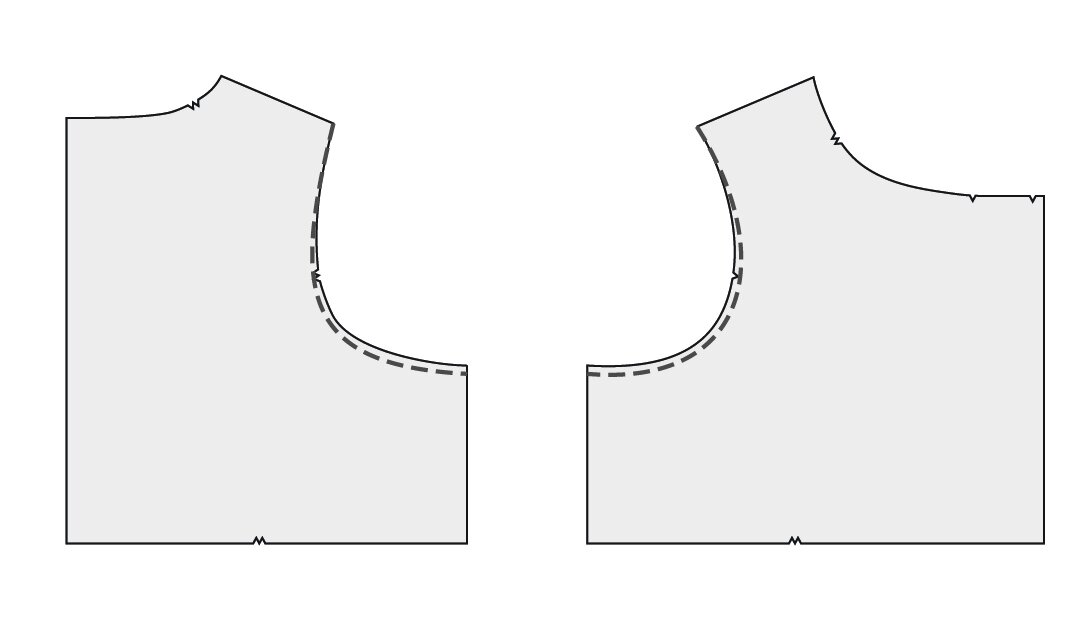
6B. Trace the original sleeve head (see small dashed lines in this diagram) onto your pattern piece, roughly between the notches. Smooth out the curves if it doesn’t match up perfectly.
You will notice now that the sleeve seam length is longer than the original seam length due to the added height and width. This means that it will not fit into the original armscye. You will have to adjust the bodice to add some length to the armscye.
7. On your front and back bodice pieces, drop the armpit by drawing a longer curve. Drop the armscye the same amount you added to each side of the bicep.
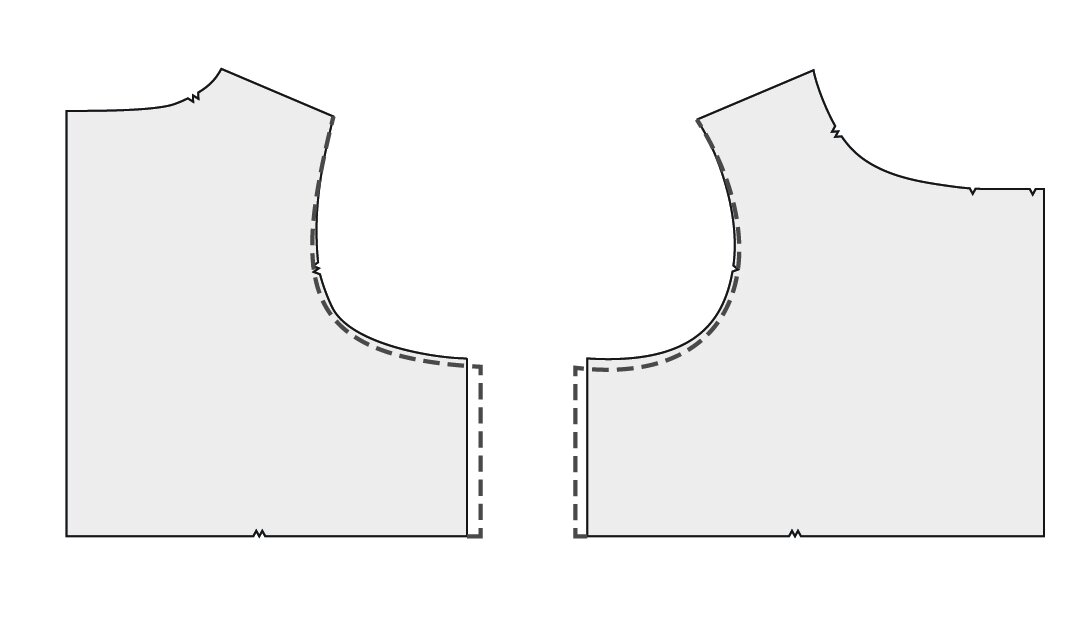
8. You can also choose to lengthen the armscye by dropping the armpit and widening the bodice. This is a more balanced approach to adjusting the armscye.