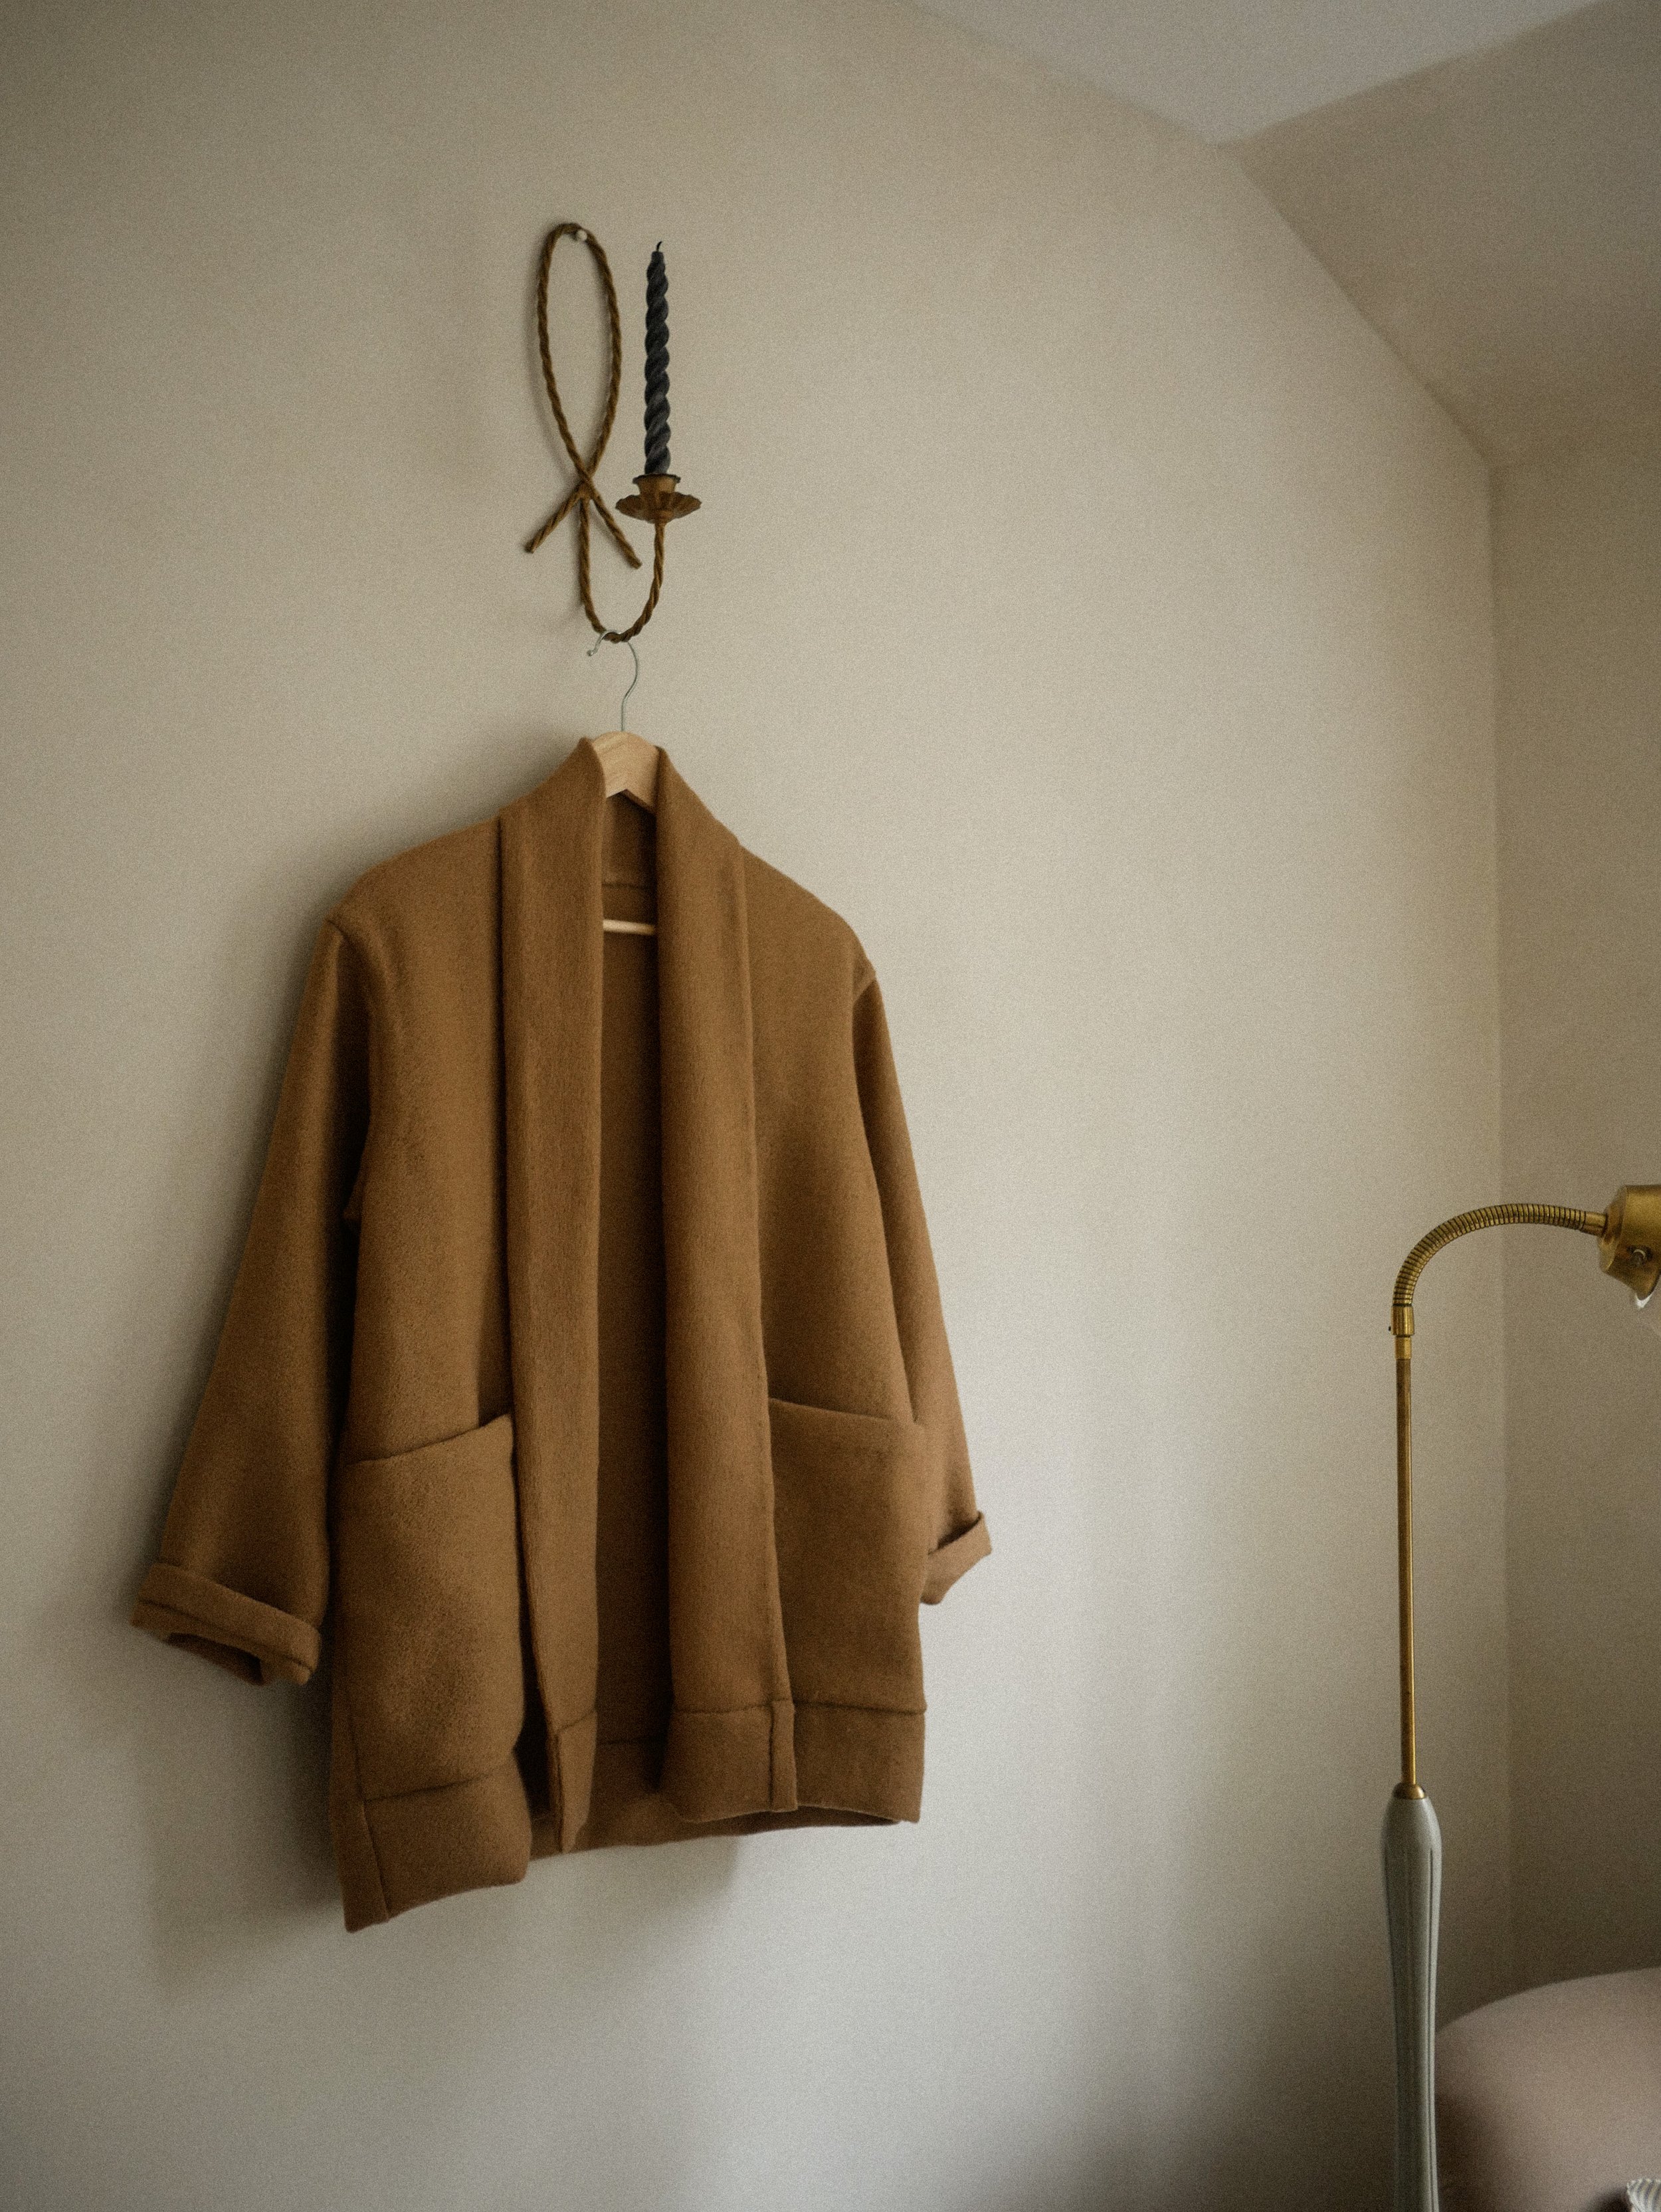
DAPHNE JACKET COLLAR EXPANSION
Step 1
Begin by downloading the pattern expansion PDF, linked here:
Daphne Jacket Collar Expansion PDF
The file contains two letter or A4 pages to print. Tape the pages together by matching the grey diamond guides.
The red lines are the new lines you will be using to cut your fabric.
Step 2
Overlay the red lines over the original Daphne Front pattern piece. Align the red lines starting at the shoulder notch. Make sure the front edge is perfectly vertical— it should be parallel to the grainline.
You will notice that the new bodice pattern piece is wide than the original bodice. This is to create a deeper collar. Use some scrap paper to fill in the rest of the rest of the pattern piece all the way down to the bottom right corner.
The solid grey hatch represents the final Front Bodice piece.
Designer’s note:
The depth of the collar can be easily altered to be shallower or deeper depending on your preference. For an exaggerated collar fullness, try adding 2”-3” extra inches to the front.
Step 3
Follow the original instructions for the Daphne Jacket.


